How to connect your ticket shop with the Facebook Conversion API using Zapier
Find out how to continue to track Apple users in iOS 14.5.
Since the launch of iOS 14.5, iPhone and iPad users have had the opportunity to disable tracking across the apps on their devices. This meant that if you had a Meta Pixel in your ticket shop, you would have difficulty in measuring conversions and (re)targeting potential ticket buyers.
Connecting the Pixel in your ticket shop to the Facebook Conversion API with Zapier can circumvent the disabled app tracking by using server-based tracking. Below, you can read how to do this. Please keep in mind that this process has quite a number of steps, so bear with us, and we’ll have your conversions up and running as quickly as possible.
A. Connect your Zapier account to Facebook
The first step is to connect Facebook to Zapier. To do this, go to Partner Integrations in Facebook Events Manager and search for Zapier.
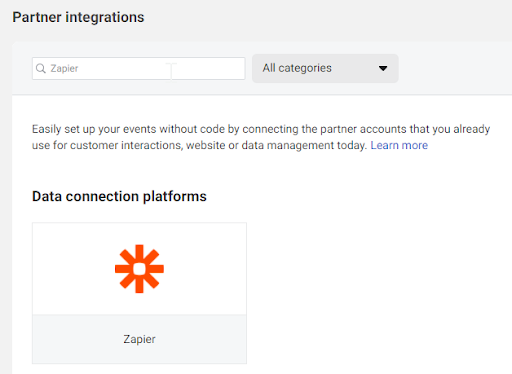
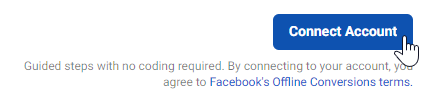
Click on Zapier and click on the blue ‘Connect Account’ in the top-right corner.
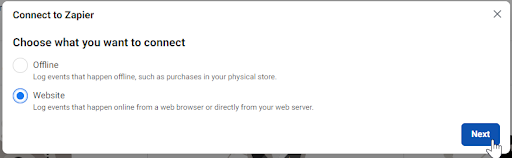
You’ll be asked what you want to connect, select ‘Website’ and click on ‘Next’.
Select the pixel you want to connect from the dropdown menu or create a new one. Once you’re ready, click ‘Next’.
Authorise the connection with Zapier. Make sure the toggle is on the right and blue. Then click on ‘Next’.
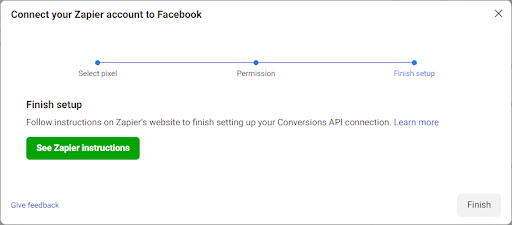
Once you’ve done that, you should see the screen below. Don’t worry about checking out Zapier’s instructions, we’ll walk you through that part and focus on specifically connecting with Eventix. Click ‘Finish’ to move on to the next step.
B. Set up Eventix as your trigger
Go to Zapier and log in or create an account if you don’t already have one.
Click on ‘Make a Zap’ in the top-left corner of your screen.
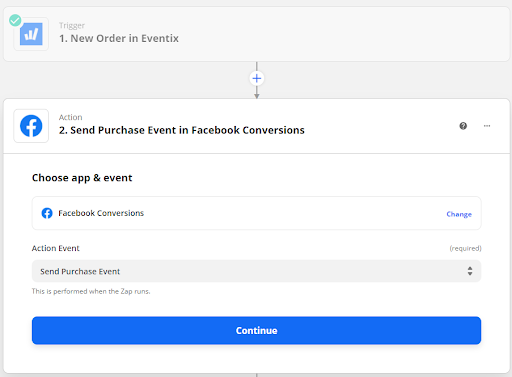
In the ‘Connect this app…’ field select Eventix, and in the ‘with this one!’ field select Facebook Conversions.
Next, click on the ‘When this happens…’ field and select New Order, and in the ‘then do this!’ field select Send Purchase Event.
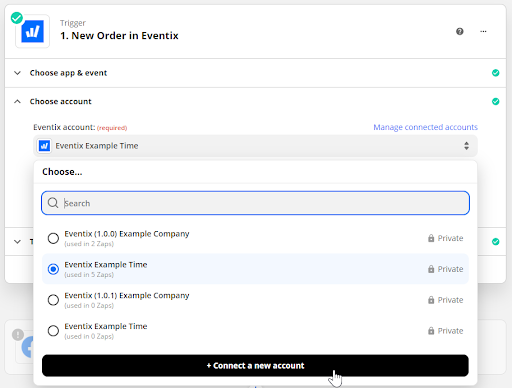
The following screen should match this image:
Click on ‘Try it’.
Next, you’ll be prompted to choose your account. If you haven’t set up an account yet, you can add a new account by clicking on ‘+ Connect a new account’. You may need to log in to your Eventix account.
Once you’ve selected your account, click on ‘Continue’.
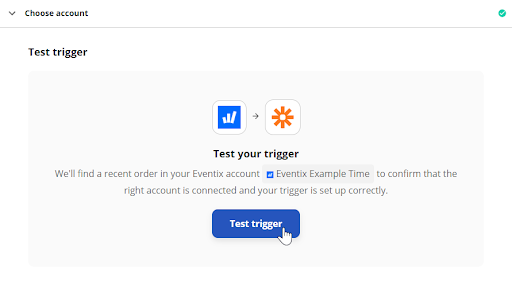
Next, you’ll need to test your trigger by clicking on ‘Test trigger’.
Zapier should now find an order, which we’ll need in the following steps. If this all works, this means the trigger of your automation is working. Click ‘Continue’ to move on.
C. Set up Facebook Conversion API as your action
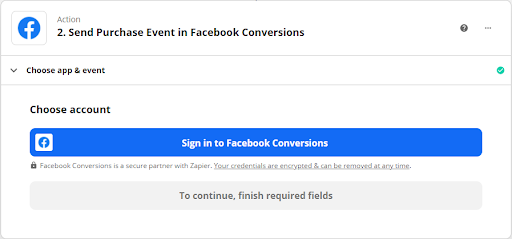
By now your screen should look something like the image below. If everything is correct, move on to the next step by clicking on ‘Continue’.
Now you’ll be prompted to sign in to Facebook Conversions. Log in to your Facebook account to allow this connection. Once you’re ready, hit ‘Continue’.
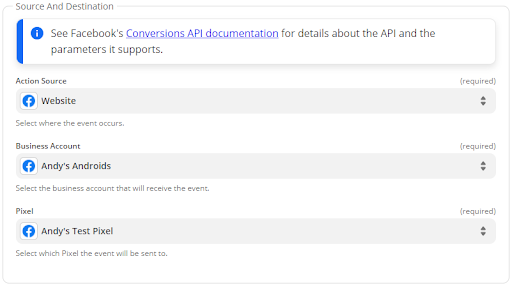
In this step, you’ll need to fill in all sorts of details. First of all, in the Source and Destination section select ‘Website’ as your Action Source, choose the correct account as your ‘Business account’ and select the appropriate pixel.
If you don’t know how to set up your Meta pixel, you can read our guide on Google Tag Manager and the Meta Pixel.
Scrolling down, you’ll want to enter as much of the info as you can. Depending on the field, you may need to manually enter this information or select the correct data input. We’ll go through each field and what to enter where.
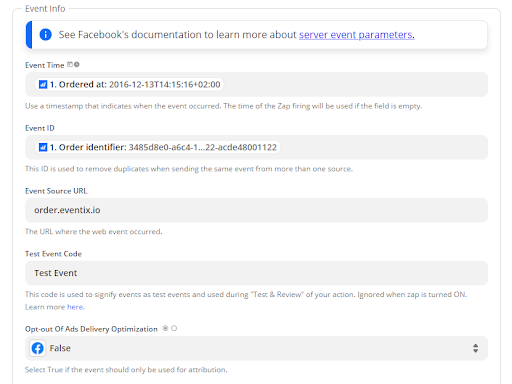
First of all, we have the Event Info section. You’ll want to select the Event time field (when the purchase took place), search for ‘Ordered at’ and select it. Check out the GIF below to see how exactly you do this.
Next, you’ll want to select ‘Order identifier’ for the Event ID, fill in ‘order.eventix.io’ under Event Source URL. Under Test Event Code enter ‘Test Event’ and finally set Opt-out Of Ads Delivery Optimization to ‘False’.
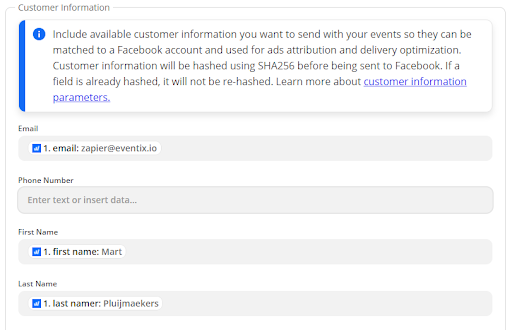
In the Customer Information section we only need to enter three fields: Under Email, First Name and Last Name enter the respective data inputs ‘email’, ‘first name’ and ‘last name’.
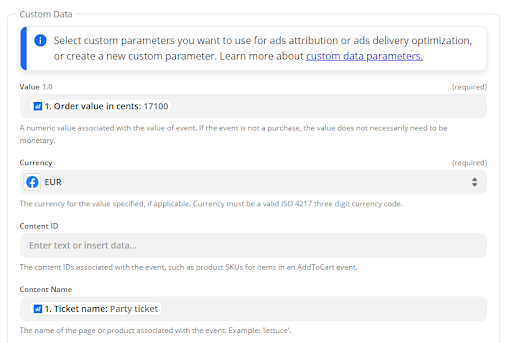
The last section we need to fill data in is the Custom Data section. The first field is Value and the input is ‘Order value in cents’.
Select the one appropriate for your currency from the dropdown menu. We’re in the EU, so I picked ‘EUR’.
Next, you’ll need to pick your Content Name, which is the ‘Ticket name’ in this case.
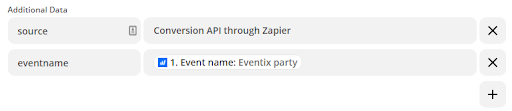
The last step in the Custom Data is to enter some Additional Data fields. In the first row, add ‘source’ and type ‘Conversion API through Zapier (Purchase)’. Notice that we added (Purchase) to the source to signify that this Zap was recording a purchase event.
Click on the plus button to the right and then enter ‘eventname’ on the left. Select ‘Event name’ as your value so you know what event the Zap was collected from.
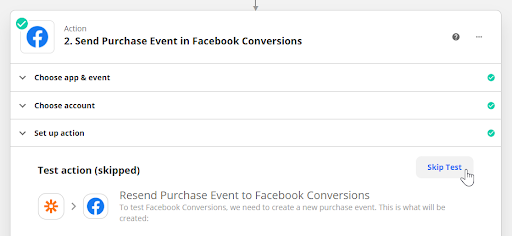
We’re getting close to the end now. Next, we need to test our action in the Test action step, which we can skip as it will give an error anyway. This error only appears because our example data was uploaded over 7 days ago, which isn’t a problem. We’ve tested everything ourselves and it runs smoothly. Click on ‘Skip test’.
Now you’re ready to set your Zap live and start sending your Purchase data to Facebook through the Conversion API. To do this click on the toggle next to ‘Ready to set your Zap live?’.
You’re good to go!
Thanks for reading, if you have feedback or questions about these guides, please contact us at info@eventix.io.